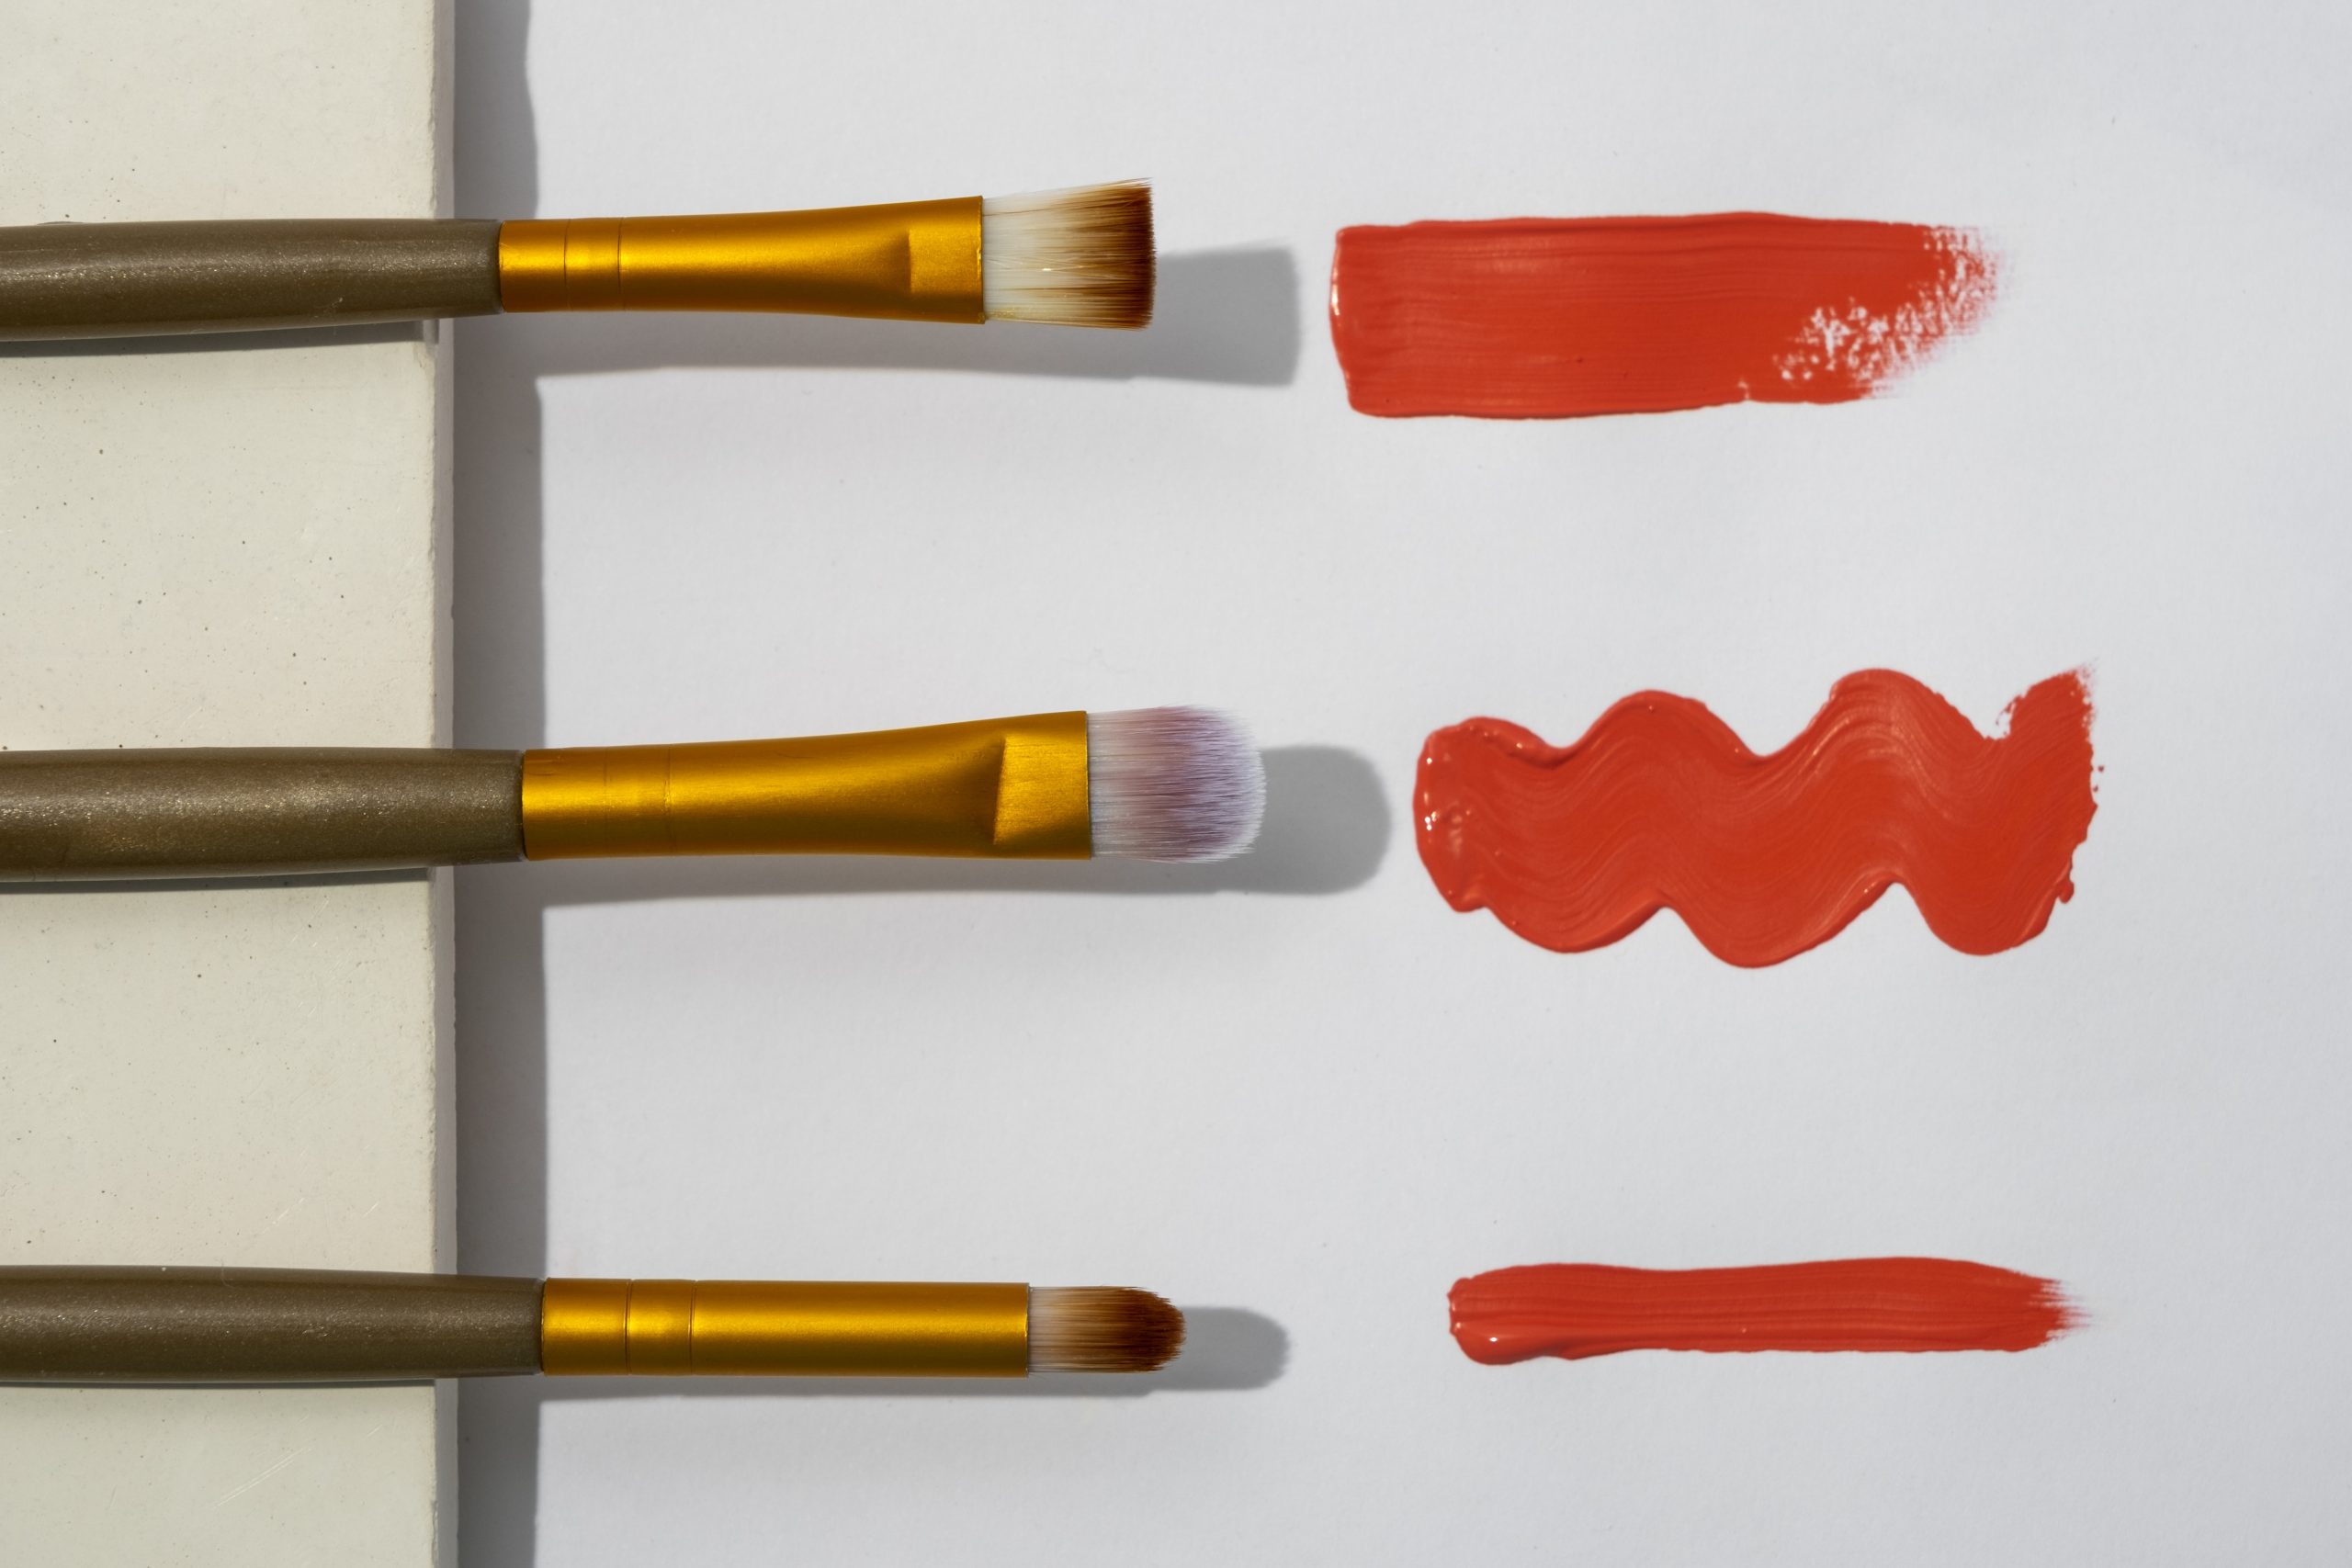
As a beginner artist, understanding the basic brush strokes is essential for creating dynamic and expressive artwork. Whether you’re working with acrylics, oils, or watercolors, mastering different brush strokes will help you bring your paintings to life. In this article, we’ll cover some essential brush strokes every beginner artist should know.
1. The Flat Stroke
The flat stroke is one of the most basic and versatile brush strokes. It is typically used to create straight, smooth lines and is often used for blocking in large areas of color.
How to do it:
- Hold your brush flat against the canvas.
- Move the brush in a straight line, using even pressure to keep the stroke consistent.
When to use:
- Use this stroke for filling in backgrounds or creating smooth, even areas of color.
2. The Feathered Stroke
The feathered stroke is a softer, lighter stroke that gradually fades at the end. This stroke is great for blending and creating gentle transitions between colors.
How to do it:
- Hold your brush lightly and use a flicking motion to create soft, feathery edges.
- The key is to apply less pressure at the end of the stroke to achieve a fading effect.
When to use:
- Use this stroke when blending colors or adding texture, especially in areas that require soft transitions like skies or skin tones.
3. The Dry Brush Stroke
The dry brush stroke is made by using a relatively dry brush with little paint. This technique is perfect for creating texture and adding subtle details to your artwork.
How to do it:
- Use a stiff-bristled brush and dip it lightly in paint.
- Wipe off excess paint, leaving just enough to create a textured effect on the canvas.
- Use quick, short strokes to build up texture.
When to use:
- Use this stroke to add texture in areas like hair, grass, or rough surfaces. It’s also great for highlighting edges and adding depth.
4. The Glazing Stroke
The glazing stroke is used to build up layers of transparent color, allowing you to achieve depth and luminosity in your artwork. This technique is often used with oils or acrylics.
How to do it:
- Thin your paint with a glazing medium or water to make it transparent.
- Apply the glaze over dried layers of paint, using smooth, even strokes.
When to use:
- Use this stroke when you want to build layers and add depth, particularly in areas that need subtle shading or color transitions.
5. The Stippling Stroke
Stippling involves creating a pattern of small dots or short strokes to build up texture, shading, or detail. It’s a technique that requires patience and precision.
How to do it:
- Use the tip of your brush to apply small, controlled dots of paint to the canvas.
- Vary the density of the dots for different effects, such as shading or texture.
When to use:
- Use stippling for creating texture, shading, or details like fur, foliage, or textured surfaces.
6. The Circular Stroke
The circular stroke is used to create smooth, curved shapes or blend colors together in a soft, continuous motion. This stroke is especially useful for creating round forms or smoothing out areas of color.
How to do it:
- Move your brush in a circular motion, applying light pressure to create smooth, curved lines.
When to use:
- Use circular strokes to blend colors, paint rounded forms, or create soft transitions in your artwork.
Conclusion
Mastering a variety of brush strokes is essential for every beginner artist. With practice, these basic strokes will become second nature, allowing you to tackle more complex techniques and create expressive artwork. Don’t be afraid to experiment with different brush strokes, and remember that each stroke can bring something unique to your painting. Keep practicing, and soon you’ll be able to use these strokes to add texture, depth, and emotion to your work.


